

Free patterns! A Coordinating Series Of Colorful Tiles For You To Embroider
Welcome to the first of a series of posts that will each have a free pattern for you to stitch. And when you’re finished stitching, you’ll have a lovely collection of designs that can be used in several ways. The free PDF will be linked at the bottom of this post, but before you scroll past, be sure to check out the info below for all of the “how-to’s” to complete your own set of designs.
I was recently inspired by some beautiful tiles that were all different but had a coordinating color theme. Of course I thought, “Wouldn’t it be fun to stitch something like that?” And I immediately thought of two very different ways these patterns could be used – as individual ornaments (because the holiday season is going to be here in like, 5 minutes, right?) or as a grid of squares that are mounted and then framed. I still haven’t quite decided how I’m going to use mine…I’ll need to think about it as I go along. For this first one I decided to make an ornament.
I started out by choosing 6 cotton fabrics in my favorite color palette, along with 8 colors of coordinating DMC embroidery thread. One of the goals I have for myself as I stitch each of these is to NOT overthink where every color goes. I want to be free to grab whatever color suits my fancy at the time. Having a pre-picked selection of fabrics and threads allows me to do that and still have the finished pieces work well together. Here are my choices:

What you’ll need:
-Cotton fabric
-DMC embroidery threads
-4-inch embroidery hoop
-Air-soluble (disappearing) marker OR a white gel pen for dark fabrics
-3-inch mini canvas boards (available at Michaels)
-White polyester felt as padding behind stitching
-Wool felt in color of your choice for back of canvas
-Craft/Button thread for stretching fabric onto canvas (or you can use 4-6 strands of embroidery thread)
-12 inches of ribbon or cord for hanger (if you’re making this as an ornament)
-Decorative trim (optional)
-White tacky glue
-Hot or cool-melt glue gun
How to make each tile:
1. Stretch your fabric in the 4-inch embroidery hoop.
2. Print the pattern and cut it out. Place the pattern on the back of your stretched fabric and tape it in place. Hold the hoop up to a bright light or a sunny window and trace the design onto the fabric. (Or, this would be the perfect pattern with which to use your home printer to transfer the design. You can see my tutorial for that HERE.)
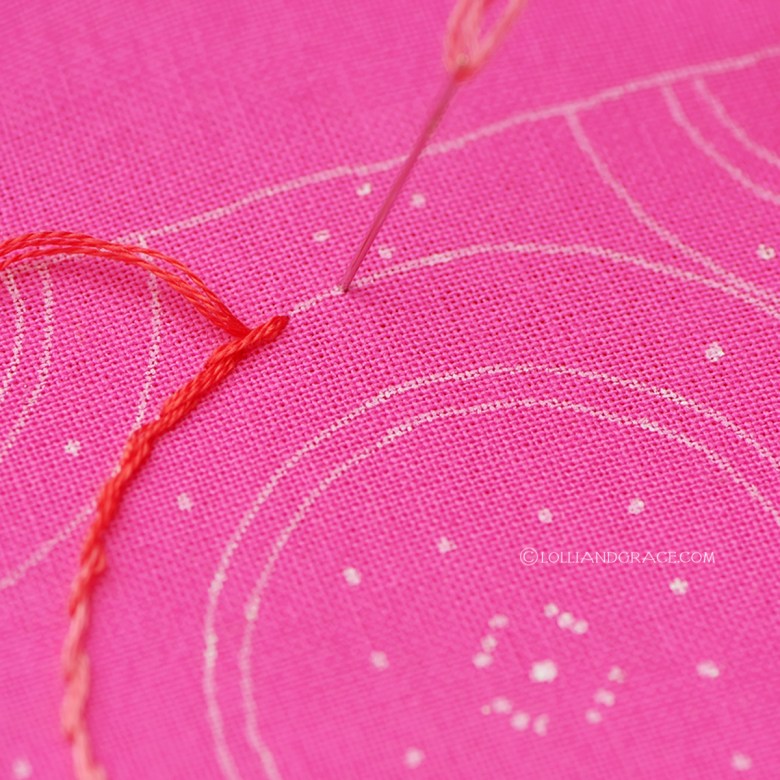
3. Stitch the design. You can use simple stitches (like backstitch or stem stitch) to follow the lines, or you can fill in the shapes with satin stitch or chain stitch to create solid areas. How you choose to stitch each tile is completely up to you! For this tile, I used a lot of stem stitching, as well as long daisy stitches and french knots:

4. When you are finished stitching, remove the fabric from the hoop and iron it carefully to remove any wrinkles. Be careful not to iron your stitching, as you don’t want to flatten all that beautiful texture. Trim the fabric into a square, with about 1-1/4 inches of excess fabric around the edge.
5. Place a 3-inch mini canvas onto the white polyester felt and trace around it. Cut out the felt so it is the same size as the canvas. Spread a very thin layer of tacky glue onto the canvas and adhere the felt square onto the canvas.

6. Place the stitched fabric face down and center the canvas over the stitching (with the felt side down so the felt is against the back of your stitching).
7. Fold one corner of the fabric over the corner of the canvas. Using the craft thread (or several strands of embroidery thread for strength), sew diagonally across to the other corner, making sure the corners of your stitching on the front are lined up with the corners of the canvas. Pull the fabric tightly, but not so tightly that the corner of the canvas tears the fabric. Make several stitches back and forth and then knot the thread.

8. Repeat for the other corners.

9. Now fold over the fabric on one of the straight edges. Begin in the center of the raw edge of the fabric and sew straight across to the center of the opposite side of the square. Work from the middle and sew across to the left, pulling your stitches tightly and stretching the fabric as you sew. Continually check to make sure your decorative stitching on the front is centered and straight along the edge of the canvas.

10. Go back to the middle and sew/stretch the fabric in the other direction. Repeat these steps for the remaining two sides of the square.

11. Now you have one completed tile!

12. If you are making this as an ornament, fold a 12-inch length of ribbon or cording in half and hot glue the ends onto the back of the tile. (You can have your ornament hang from one of the corners so it is a diamond, or you can hang it as a square by glueing the ends of the ribbon/cording to two different corners.) If you want to add a tassel, hot glue the cord for the tassel to the back of the tile as well. Also attach any decorative trim around the edges before moving to the next step.
13. Cut a 2-3/4 inch square of wool felt in a coordinating color. Hand stitch or glue the felt to the back of your tile to hide the working threads on the back and the ends of the ribbon hanger.


14. Here is my finished ornament:

Click below to get the PDF for this free pattern:
LolliandGrace_Tile_1_free pattern
I can’t wait to see what everyone does with this fun little design – happy stitching!!