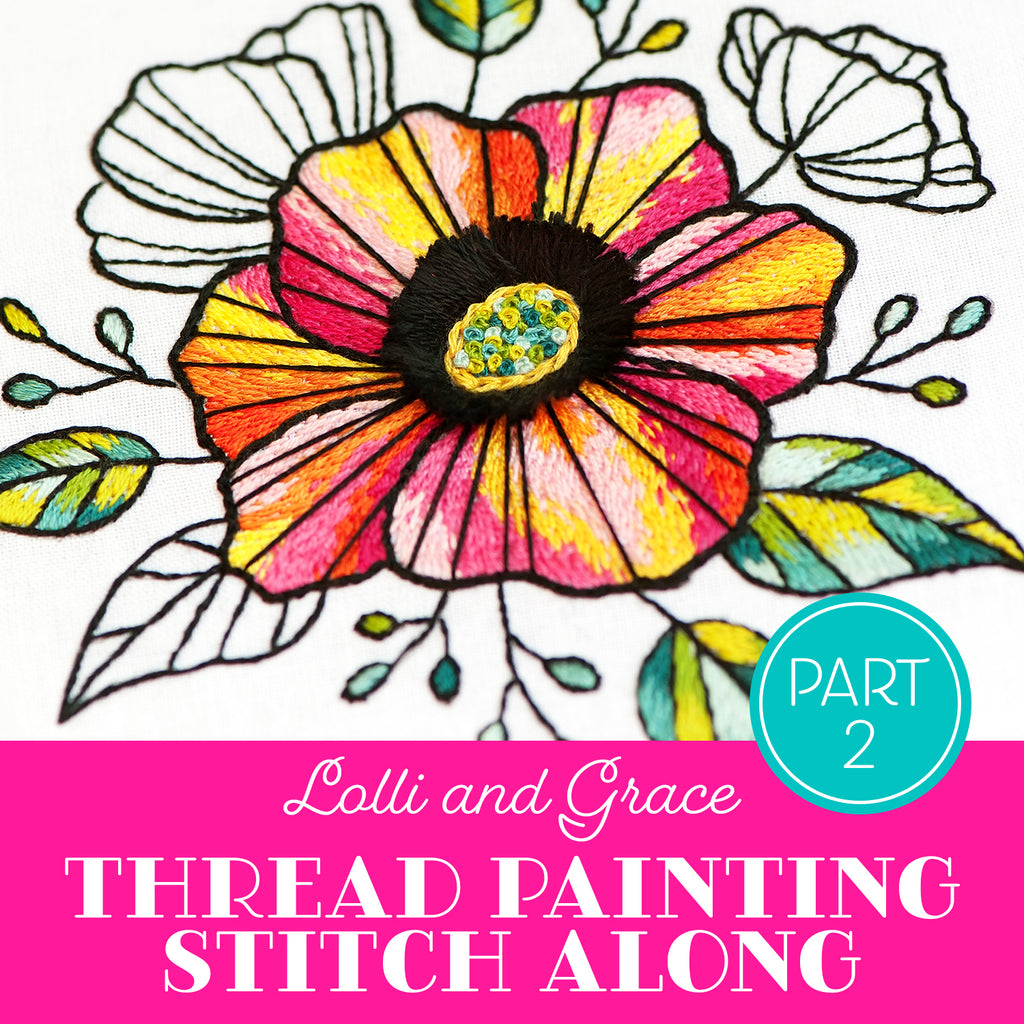

Lolli and Grace Thread Painting Stitch Along - Part Two
Welcome to Part Two of the Lolli and Grace Thread Painting Stitch Along! In this part, we will start adding beautiful blues and greens to our leaves as we start to do some actual thread painting.
If you need the PDF pattern for this design, a list of supplies or the instructions for Part One, you can find all of that here:
Lolli And Grace Thread Painting Stitch Along – Part One
Also, after you read through all of these instructions, make sure you check out the video tutorial for Part Two. There is a lot of great info there as I walk you through how to stitch these leaves.
How To Paint With Thread
Thread painting is really very straightforward. Why? Because at its most basic level, it’s really just a whole lot of straight stitches. (See what I did there? LOL.) But it does seem to intimidate many people, so let me break it down for you.
There are three basic components of thread painting:
- Stitch length
- Thread color
- Stitch angle
For the leaves on this pattern, each section of the leaf we will be filling in is essentially a rectangle. To begin needle painting a section, you will start by making stitches of random lengths along one edge of the rectangle. Then fill in below that first row with more stitches of random lengths, making sure you stitch up into the stitches you already made. Each “row” of stitches will continue to have an edge with staggered lengths of stitches.
You can work from left to right, right to left, or in random directions. Just keep filling in with staggered stitches, making sure not to leave any gaps. If you find gaps later, you can always come back and fill them in with another stitch or two.
Here is a diagram showing you the needle painting process:

Thread Colors for Part Two
- 3761 Sky Blue Light
- 3810 Turquoise Dark
- 3808 Turquoise Ultra Very Dark
- 166 Lime Green
- 470 Avocado Green Light
Leaf Color Chart
To print the leaf color chart, right click on it and open it in a new tab or a new window. Then you can print the image from that tab/window.

***Use 2 strands of thread for the thread painting on all of the leaves.***
To learn how to separate strands of thread, follow these instructions:
How to separate strands of embroidery thread
As I mentioned above, each section of the leaf we will be filling in is pretty much a rectangle, but with two of the edges being different angles. Because of this, all of the stitches inside each of these sections will be parallel to each other. Thus, you don’t have to worry about changing any of the angles of our stitches as you fill each section. Just straight stitches that all line up – easy peasy, right?
For the colors to use in each area, follow the color chart above.
Video Tutorial For Part Two
For a more in-depth explanation of how to fill in the leaves, this video tutorial that will show you in detail how to complete Part Two:
I hope you have fun as you start to work with some color on this design. Make sure you’re following me on Instagram, as I will be sharing lots of photos as we are working on this stitch along!
Also be sure to join me for Part Three, where we will be doing lots more needle painting as we fill in all of that glorious color on the main flower. See you then!