

Lolli and Grace Autumn Leaf Stitch Along - Day One
Hello, and welcome to Day One of our fun Autumn Leaf Stitch Along! There will be four days of instructions, photos and videos, and each day you’ll find everything you need to know to stitch up this lovely thread-painted Autumn leaf hoop right here at lolliandgrace.com. Be sure to read through all of the steps, print out the PDF pattern and don’t miss the video at the bottom of this post, where I’ll show you how to do everything that is described here.
I will also be posting about this stitch along on my Instagram (@lolliandgrace), both on my grid and on my stories. There will be lots of fun discussion about this over there, so come join us. Or, if you’re more comfortable on Facebook, I’ll also be posting a few photos about it there, too. Just search for Lolli & Grace on Facebook and follow me there!
Click below to get the PDF pattern
Lolli and Grace_Autumn Leaf_Stitch Along
Supplies (Click on the links to see each item)
-6-inch embroidery hoop
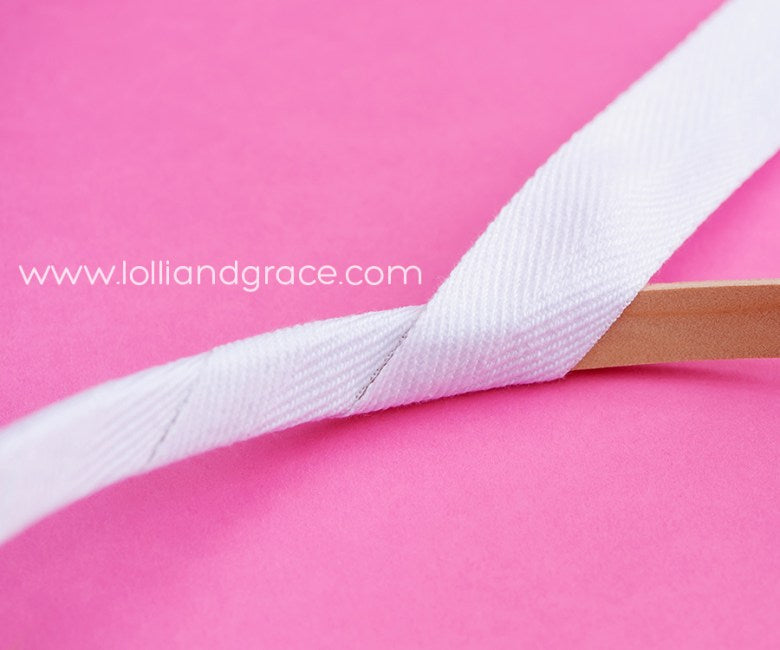
-1-1/2 yards of 1-inch cotton twill tape
-1/4-yard linen or cotton fabric (fabric shown here is linen – available at JoAnn Fabrics)
-DMC embroidery floss in these colors:
#3834 Plum
#915 Berry
#3750 Dark Blue
#806 Medium Blue
#3852 Gold
#3853 Light Orange
#720 Dark Orange
#919 Rust
#815 Maroon
#167 Tan
#433 Brown
#581 Light Green
#3346 Medium Green
-Printed pattern (see the link above to get the PDF pattern)
-7″ square of felt for the back of your hoop
Here are the stitches you will be using on the pattern:

Color Chart
Preparing Your Hoop And Transferring The Pattern
It’s important to keep the fabric very tight in your hoop the whole time you’re stitching. Wrapping the inner hoop with cotton twill tape will help keep the fabric tight by allowing the outer and inner hoops to squeeze the fabric more tightly than if you did not wrap the hoop.
To do this, cut the end of 1-inch cotton twill tape at an angle and hot glue it to the inside of the inner hoop. Then tightly wrap the hoop, keeping the same angle and making sure the edges of the tape do not overlap. Hot glue the other end of the tape on the inside of the hoop and trim it off. Now you can stretch your fabric in the hoop and it will stay drum-tight as you stitch.
Transferring The Pattern To The Fabric
-Print the pattern and cut it out on the dotted line. Place it behind your stretched fabric, and tape it in place.
-Hold the hoop up to a sunny window or bright light and trace the design onto the fabric with the Frixion erasable gel pen.

Stitching The Wreath
-See the color chart above for which color to use in each area.
-Use 4 strands of embroidery thread for all areas unless otherwise noted.
-Use the outline stitch for the long stem on the left side of the hoop.

-Stitch the short stems with simple straight stitches.
-Then make French knots for each of the berries at the end of each stem. Wrap the needle twice for each knot.

And here is a video that will take you through each of these steps shown here. Sorry you have to sit through the explanation to visit the blog, because DUH, you’re already here. But this is also posted on YouTube, so I needed to explain to those people how to get here. Also, please erase from your memories the part where I do the outline stitch incorrectly, over and over and over. Ack! Nevertheless, I hope the video is helpful for you. Enjoy!
So that’s our first day of hoop preparation and stitching on our Autumn Leaf Stitch Along. Join me tomorrow as we continue stitching the outside wreaths.