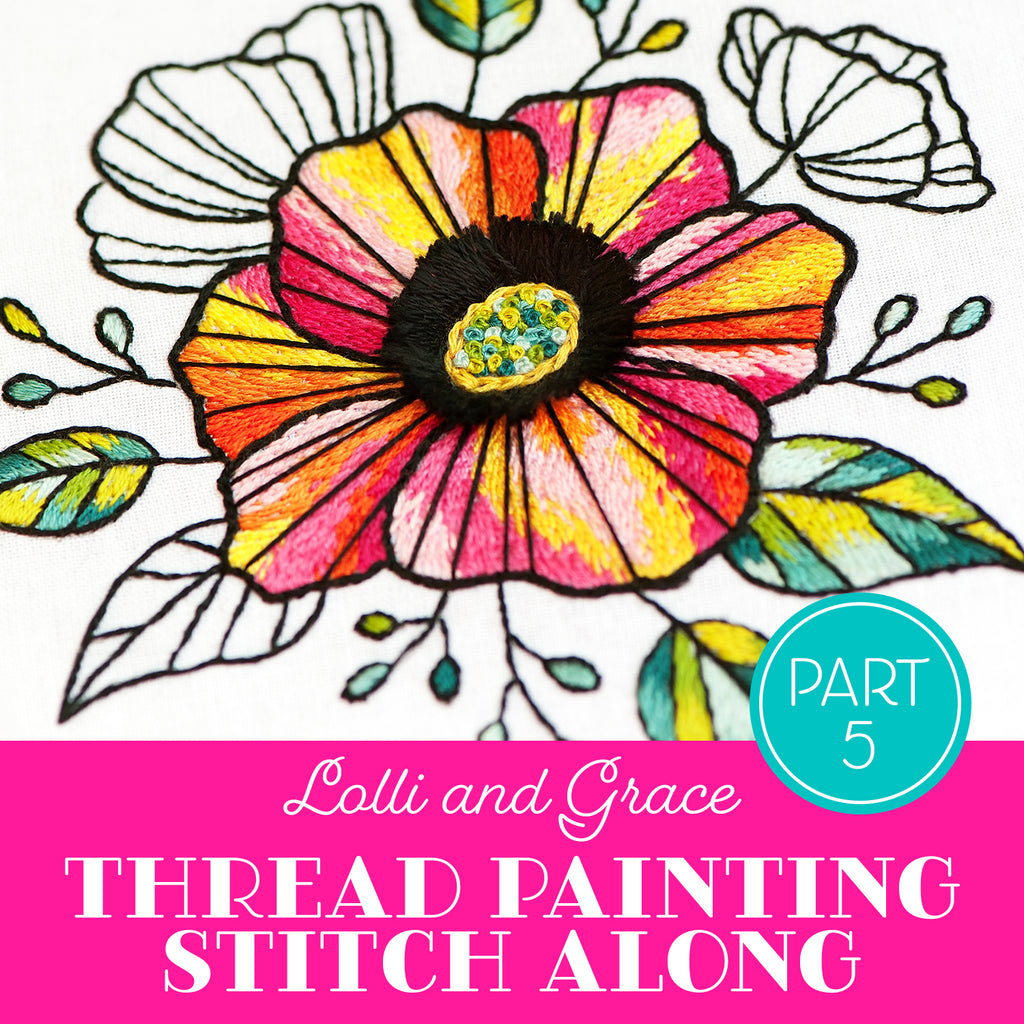

Lolli and Grace Thread Painting Stitch Along - Part Five
We are finally at the end of our Stitch Along, and we just have a few more things to do and then our hoop will be finished.
If you’re looking for any of the previous stages of this design, click on one of the links below. You’ll find the PDF pattern, the supply list and the instructions for getting started on this design in Part One. We stitched the leaves in Part Two, and in Part Three we did all of the needle painting on the main flower. In Part Four we completed the center of the flower.
Lolli And Grace Thread Painting Stitch Along – Part One
Lolli And Grace Thread Painting Stitch Along – Part Two
Lolli And Grace Thread Painting Stitch Along – Part Three
Lolli And Grace Thread Painting Stitch Along – Part Four
Stitching The Leaf Buds
Use 2 strands of DMC Black thread and the split back stitch to complete all of the outlines for the buds. This is the exact same thing you did for the outlines on the leaves in Part One.
After stitching the outlines, use 2 strands of thread to fill in each bud with the correct color (see the color chart below). You will use satin stitch to fill in the buds, but really it’s just several straight stitches that are right next to each other. These buds fill in very quickly. Use the color chart below for color placement.


Stitching Lines On The Petals
Use 2 strands of DMC Black thread to stitch the long lines on the petals. See the diagram below for placement of the lines.
To print out this color chart, right-click the image below and open it in a new tab or a new window. From there you can print it from your computer.

Finishing The Back Of The Hoop
Thread your needle with a long length of at least 3 strands of thread (any color). Tie a secure knot in the end, then sew a running stitch around the edge of the excess fabric.

Pull the thread to gather the excess fabric towards the back of the hoop. Knot the thread securely.

Place the hoop on a piece of felt and trace around it. Cut out the felt circle, cutting just inside the line you traced so the felt is slightly smaller than the hoop.

You can glue the felt circle to the back of the hoop or you can stitch it to the fabric you gathered.

Display Your Hoop
And we are finished! Display your hoop on a wall or a shelf and enjoy!
Video Tutorial For Part Five
Here is the video tutorial that will show you in detail how to complete Part Five:
I hope you had a wonderful time stitching this hoop with me! Please join me on Instagram or Facebook, and I’d love to see your in-progress photos and/or the photos of your finished hoop!
Facebook: Lolli & Grace
Instagram: @lolliandgrace